Showing posts with label DIY. Show all posts

Wednesday, August 19, 2015

DIY Sharpie "Tie Dye" Racer Back Tank

My fiance's mom gave my fiance him a plain white tee that was too small for him, but too big for me.  So, of course, I upcycled it into something I could wear.

First thing I did was draw a shape front and center on the tee with a permanent marker like a Sharpie or a Bic Mark It.  In this case, I drew a nautical star -- don't do that -- draw something abstract to start from because the sharp lines don't work well when the colors start to bleed.  Also -- I discovered later that the black permanent markers don't really bleed which is the goal so I wouldn't use black.  Once you color the entire tee, you're going to use rubbing alcohol to bleed the colors and make it look like it was tie dyed.

Then I started drawing straight lines out from the star in different colors to make a cool-looking effect.


Then I kept alternating colors...


And alternating more colors...


And continuing on...


And then I thought "Hey! If I cut the sleeves off now, I won't have to color them."  So I cut off the sleeves as well as the crew neck to make a scoop neck.


Then more coloring to wrap around to the back.


The next step is EXTREMELY IMPORTANT -- wherever you plan on spraying the shirt down with rubbing alcohol, make sure to lay down a tarp or a garbage bag or something to protect your floor, your table or your washer.  Also, put plastic bags or wax paper inside of the shirt so the colors from the front don't bleed to the back and vice versa.

Then pour rubbing alcohol -- I used 70% -- into a spray bottle.


Spray the rubbing alcohol all over the shirt -- front and back.


The colors will bleed together will create a tie-dye effect.


Let the shirt sit out overnight to dry.


If you don't cover your spraying/drying surface with plastic, this is what it will look like.  Personally, I think my washer looks better this way -- I just wish the whole thing were covered with color.


After it's dry, cut half moon shapes in the back to create a racer-back look and thinner, more tank top-like sleeves.


My shirt was still pretty loose and the front was a little too low cut for my tastes so I tied the straps together in the back to make them shorter.

On the back of your shirt, just fold the bottom of the straps at each side to make loops like bunny ears when you're learning to tie your shoes.  


Then tie the loops together and double-tie them to make sure it's secure.


Here's the front -- note that the star shape is still there and the black didn't bleed the way I wanted it to.


And here's the back which is my favorite part


My fiance said "you literally can't wear that anywhere" but I can wear it to work out and I can wear it to bed so :-P

It's super comfy and personally, I think it's super cute.

Wednesday, June 17, 2015

Cleaning Tennis Shoes

Yes! Another post about cleaning.  So I'm one of those weirdos who is planning on wearing Converse Chuck Taylors to her wedding.  I've had the Chucks I'm going to wear for a while now so, of course, they've gotten a little scuffed over the years.  Also, my fiance likes to have a pair of nice while K-Swiss type tennis shoes, but he started wearing them to cut the grass and they have now been put through the ringer.  They were disgusting and they had to be cleaned.

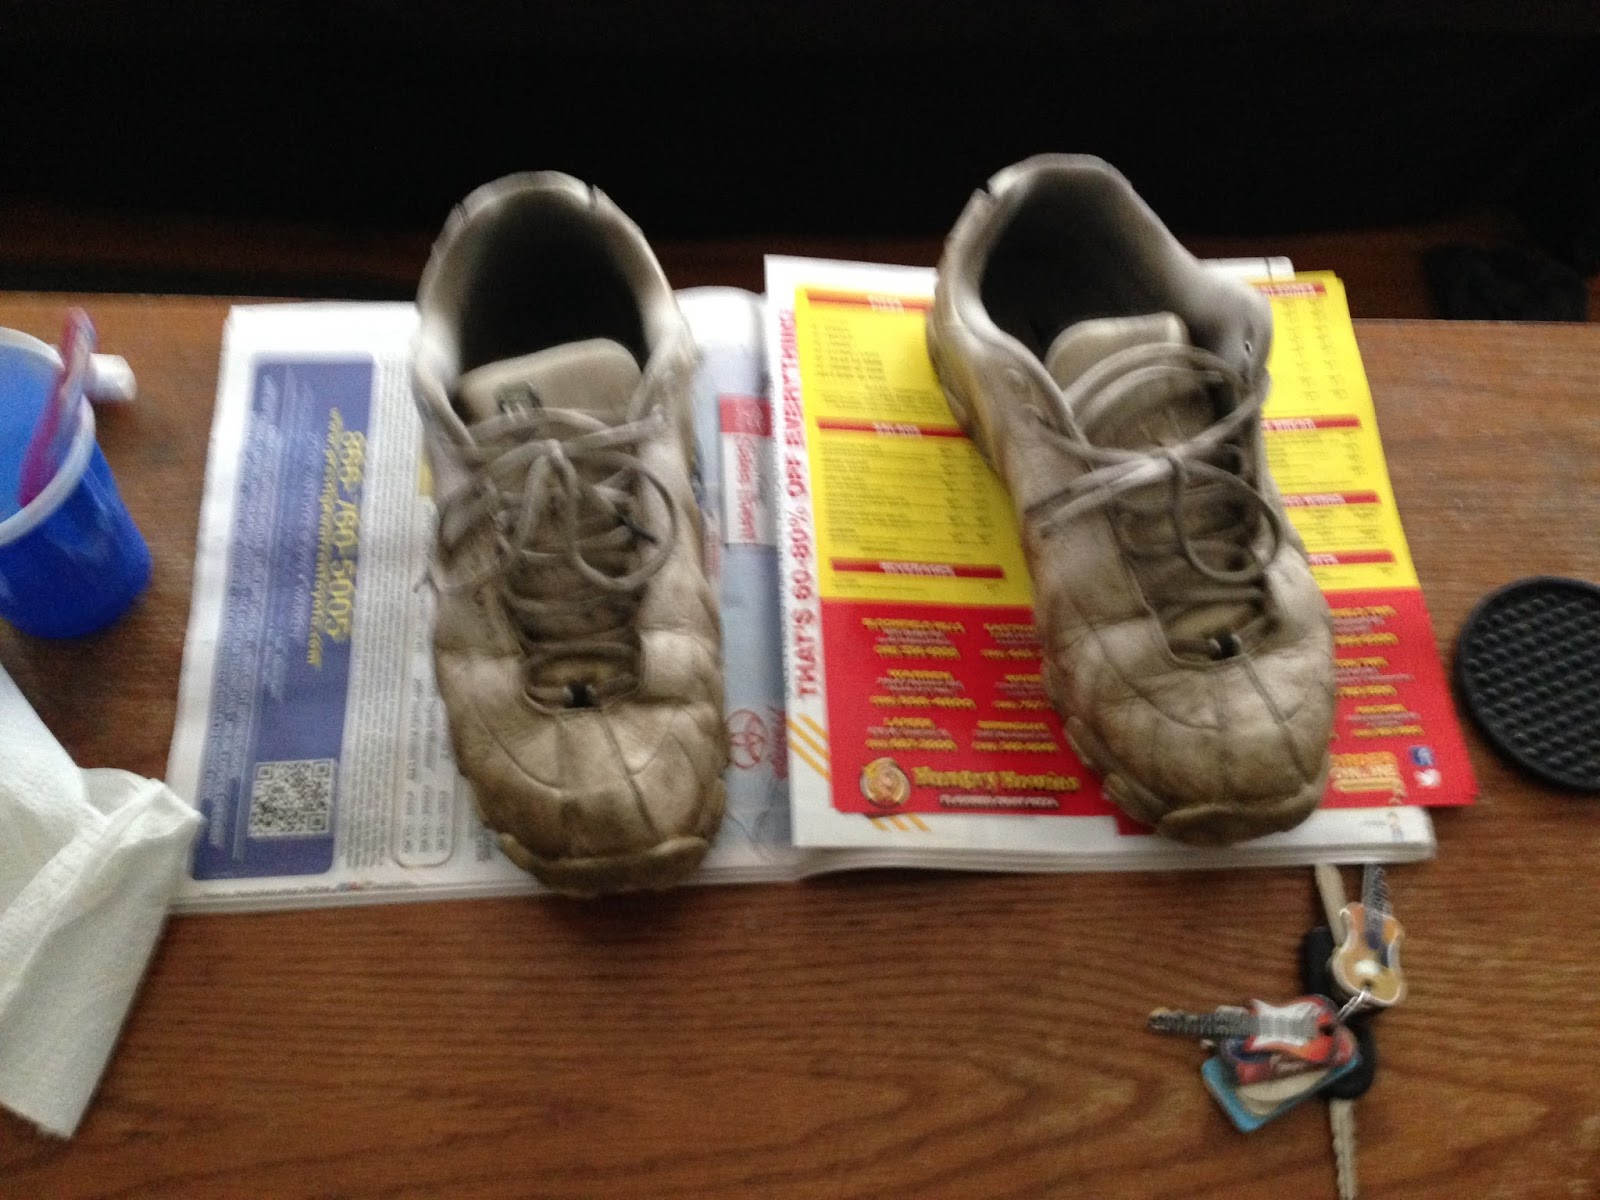
At first, I was going to get an old toothbrush wet and dip it in baking soda and use the mixture to scrub the shoes.  THEN I realized that toothpaste is primarily baking soda and I had a bunch of little trial sized toothpastes from the dentist's office.  I got a plastic cup and filled it half way with water, I put some newspaper on the coffee table and I got to work.

Dirty shoes

Supplies
At first I put the toothpaste on the toothbrush and scrubbed it, but then I just started putting the toothpaste directly on the shoe and scrubbing.  It helps if you wet the toothbrush a couple of times without reapplying the toothpaste -- that way you get a lot of bubbles.The bottom edges of the shoes were really bad so I put toothpaste all over them and let it sit for a while.  You'll also need a wet wipe or some wet paper towel to clean off the excess toothpaste and you'll need to wash the dirt off of your toothbrush when you're done.

The shoes were cleaner, but they will never look new again.  I'm still pretty happy with the results.

Clean shoe on the left, dirty shoe on the right


Dirty on the top, clean on the bottom

As an added bonus, your shoes will smell minty fresh. :-)

Wednesday, June 3, 2015

DIY Frosted Windows

So we have a large bay window that spans the entire living room.  The center picture window has blinds but the windows on either side are very narrow and don't have blinds or any other window treatments.This means that anyone who walks by can see into our living room.  Although we don't have really nice, expensive things, I don't want people to know what we do and don't have.  I also just don't like the thought of people being about to walk down the street and look into my house.


 I went on the Home Depot website and looked up adhesive window covers.  I found some frosted window covers and then I realized "Hey, I have some transparent contact paper from the dollar store left over from a craft project.

Dollar Tree Contact Paper


I tested a piece of it on a window and I couldn't see through it and the light was still shining through.  I then proceeded to cut contact paper the size of the window and apply it to the glass.  I put it on similar to the way that you put a screen protector on a phone.  I peeled the backing off of the top edge and placed it on the top edge of the window then I used my hand to run the contact paper on smoothly.  I tried using a piece of cardboard instead of my hand, but it just didn't work as well.

This is the final result:

Can't see anything from the outside
Lets sun in from the outside

One added bonus to this is that my dogs can't see outside so they can't bark at other dogs as they're walking by or the neighbor's kids drawing with sidewalk chalk in the driveway.

It was super quick and easy and it's been a lot nicer not having to worry about people looking in through my windows when I'm not home.  Maybe I'm paranoid, but I feel better now.

Wednesday, April 29, 2015

Home Made Fire Starters (Burn Boxes)

Spring is officially here and summer is on its way.  If you're lucky enough to have a fire pit in your back yard like we are then you can't wait to get out there and start roasting marshmallows.  One great way to get that fire started is to make home made fire starters which we call "Burn Boxes" or "Burn Bags."

What you'll need:


  • A cardboard box or paper bag
  • Dryer Lint (optional)
  • Old newspapers
  • Sawdust (optional)
  • Twigs, Sticks and Tree Bark
I used an Ulta box from an online delivery I had gotten.  I also used it to pack items when we recently moved.

Start by crumpling up some newspaper and putting it in the bottom of the box with the dryer lint. 


Then spread some of the stick, twigs and pieces of bark on top of the paper and then put another layer of paper on top of the sticks.


After that, close the box with each corner over another so that  it won't open on its own.


Once you've got it backed and closed up, you need to poke holes all over the box in order to let the oxygen in so that the fire will start.  I used a giant screwdriver but you can use scissors or a knife.  This is also a nice stress reliever.


This is what it will look like when you're done.


 You can also use old charcoal bags or pizza boxes -- pizza boxes work great because they're greasy and grease is super flammable.


Then all you have to do is place the burn box in the bottom of the fire pit and place your pieces of wood around it.  Light the box through one of the holes on the side so that the paper inside catches fire and then watch it all go up in flames.


Wednesday, April 22, 2015

DIY Children's Craft Smock

So my hours were cut at work and I've found myself with a little extra time on my hands.  With this time I've done things like go to the dentist and work on my wedding.  My parents live about 20 miles away and consequently my dentist is still by their house because I never changed dentists after I moved out.  Also, my maid of honor is my sister who lives with my parents so needless to say, I've been spending a lot of time at my parents' house lately.  My parents also watch my nephews once a week.  One is three and the other is six months old.  Since I've been spending more time with them, I've decided to do a few crafts with the three year old.

One craft I decided to do is to dye white school glue with food coloring and use it to color on dollar store picture frames creating a stained glass effect.  I did realize that this could possibly become a mess when in the hands of a three year old and he could potentially get dyed glue all over his clothes.  I then took it upon myself to make him a smock to protect his clothes.

I started with an old t-shirt my mom had given me.  She had won it in a casino on a cruise.  Then I cut off the side seem and sleeves on each side.

Save this because you'll need part of it later
This is actually the back side of the shirt


Once you cut the sleeves out, you can put a design on the front of your smock if you'd like.  I chose "Chicks Dig Me cuz I'm Crafty" with a chick on it because I can draw a decent chick and it was for my nephew.


Next, cut two 1/2 inch sized slits about a quarter from the top and half way from the top on each side of the shirt on the front and back of the shirt.  The slits should be about 1/2 inch from the edge of the smock.  These will be the holes that you tie the straps to.

I actually held the front and back together and cut them at the same time.

Take the sleeve pieces and side seems that you cut off of the original t shirt and cut the sleeve section off.  Fold the remaining section in half vertically and cut it into 4 strips long-wise.  Do this for both side seem/ sleeve sections so that you have 8 strips of fabric.


Once you have your 8 strips, pull on them so that they curl up and make a thinner strings like so

Feed the string through one of the holes you cut on the side of your smock and knot it.  Do this for each one of the holes on the side of your smock. Be sure to at least double knot it so it stays.


Now all you have to do is slip the neck opening over the child's head and tie the strings on either side in bows so that it stays on.


This was a size medium and it went down to my three year old nephew's ankles.  This didn't cover his sleeves and even though he was wearing a short sleeved t-shirt, he managed to get glue on them and we had to wipe them down right away to avoid staining.  Nevertheless, it did keep his front  clear of glue so I'd say it was a success.

Wednesday, March 4, 2015

DIY Dry Shampoo

This Winter seemed like it would never end but now the first signs of Spring are finally here.  Not all of this winter was bad though, it's when I started making my own dry shampoo.

When it gets cold outside, I have to change my entire personal grooming routine because my skin gets so dry.  I have to moisturize my face twice a day, I have to switch from bar soap to body wash and I have to constantly put on body lotion to avoid getting eczema.  My scalp also gets very dry and itchy so I have to use an anti-dandruff shampoo. 

This winter, I went for Head and Shoulders Anti-Itch shampoo.  I wanted to get a separate shampoo and conditioner, but I went back to the aisle three weeks in a row and the store only had shampoo or 2-in-1 shampoo and conditioner.  I decided that it was only for a few months and I'd tough it out using the 2-in-1 stuff.  This was a bad idea.  Even with the added conditioner and using a leave in conditioner, my hair was dried out and breaking.  I had to clean the hair out of my brush twice a week and it was all over my bathroom floor.  I bought some anti-dandruff repairing conditioner and it did help, but it was clear that I couldn't wash my hair all of the time this winter. After doing some research, I decided to only wash and condition my hair twice a week and use dry shampoo for the other 5 days.

Now, I had used the TRESemme spray in dry shampoo before and there were a couple of things I didn't like about it.
  1. It felt like you had to use half an aerosol can in order for your hair to not feel greasy.
  2. It therefore meant that you were spending about $1.50 per use.
  3. It smelled like a baby prostitute.
I still use the TRESemme aerosol dry shampoo sometimes, but I was looking for a better way.

Through Pinterest, I had found a few dry shampoo recipes and some loose guidelines for what to use to make homemade dry shampoo.  This is what I do:
  • Combine 2 parts baking soda, 2 parts UNSWEETENED cocoa powder (from the baking aisle) and 1 part corn starch (for brunettes).
    • For blondes, use 1 part unsweetened cocoa powder and 2 parts corn starch in addition to the 2 parts baking soda
  • Mix these three ingredients and then add a few drops of clear extract from the baking aisle
    • Lemon extract, vanilla extract, almond extract -- whatever you like -- just make sure that there's no kind of sugar or syrup in it or your it will make your hair sticky
      • You can also use a few drops of essential oils, but with the extracts, everything is non-toxic
  • Mix everything together until the liquid is completely absorbed and then place in a storage container.
    • I use mason jars for everything.


There are a couple of ways you can apply this dry shampoo.  You can use an old (thoroughly cleaned) spice shaker or parmesan cheese shaker to sprinkle the shampoo near, but not directly onto your roots.  The way I originally was applying the dry shampoo was by dipping a makeup brush into a little tub of the dry shampoo and then applying it to the hair near my roots.  Then I would, of course, brush it through so that it cleaned all of my hair.  This worked very well and made my hair smell like chocolate.


I figured that there had to be a better way and began the searching the internet for some kind of dry shampoo brush dispenser.  I found a couple of different brands of dry shampoo that came in a container that was a brush on top which was connected to a tube of powdered dry shampoo but I didn't see anything where you could put your own dry shampoo into it.  I even contemplated taking the pad and bristles out of a paddle brush, poking holes in the pad and pouring dry shampoo behind the pad before reattaching it -- anything to make the brush and the shampoo applicator one and the same.

I discussed this dilemma with a friend who also couldn't find anything on the internet matching what I wanted.  She did tell me that she found something similar to what I was looking for at Sally's Beauty Supply.  I went to Sally's and spoke with the sales associate and the only thing she knew of that matched my description was this:


This Roots Only Applicator is only $1.69 and it's used for applying hair dye as well as medicated shampoo and other items to your hair.  It has small holes at the top of the comb that release the dry shampoo and then you can easily comb it through. 

I've only used this applicator once so far.  I've found that you have to have a toothpick or a safety pin at hand because sometimes holes in the teeth of the comb get clogged with the shampoo.  Also, you have to let air into the bottle because you have to squeeze it to get the dry shampoo to come out.  Once you squeeze it, you can comb it through.  I'm not sure how I feel about this applicator or if I'll stick with it, but it is really convenient so I'll give it a whirl.