Wednesday, April 29, 2015

Home Made Fire Starters (Burn Boxes)

Spring is officially here and summer is on its way.  If you're lucky enough to have a fire pit in your back yard like we are then you can't wait to get out there and start roasting marshmallows.  One great way to get that fire started is to make home made fire starters which we call "Burn Boxes" or "Burn Bags."

What you'll need:


  • A cardboard box or paper bag
  • Dryer Lint (optional)
  • Old newspapers
  • Sawdust (optional)
  • Twigs, Sticks and Tree Bark
I used an Ulta box from an online delivery I had gotten.  I also used it to pack items when we recently moved.

Start by crumpling up some newspaper and putting it in the bottom of the box with the dryer lint. 


Then spread some of the stick, twigs and pieces of bark on top of the paper and then put another layer of paper on top of the sticks.


After that, close the box with each corner over another so that  it won't open on its own.


Once you've got it backed and closed up, you need to poke holes all over the box in order to let the oxygen in so that the fire will start.  I used a giant screwdriver but you can use scissors or a knife.  This is also a nice stress reliever.


This is what it will look like when you're done.


 You can also use old charcoal bags or pizza boxes -- pizza boxes work great because they're greasy and grease is super flammable.


Then all you have to do is place the burn box in the bottom of the fire pit and place your pieces of wood around it.  Light the box through one of the holes on the side so that the paper inside catches fire and then watch it all go up in flames.


Wednesday, April 22, 2015

DIY Children's Craft Smock

So my hours were cut at work and I've found myself with a little extra time on my hands.  With this time I've done things like go to the dentist and work on my wedding.  My parents live about 20 miles away and consequently my dentist is still by their house because I never changed dentists after I moved out.  Also, my maid of honor is my sister who lives with my parents so needless to say, I've been spending a lot of time at my parents' house lately.  My parents also watch my nephews once a week.  One is three and the other is six months old.  Since I've been spending more time with them, I've decided to do a few crafts with the three year old.

One craft I decided to do is to dye white school glue with food coloring and use it to color on dollar store picture frames creating a stained glass effect.  I did realize that this could possibly become a mess when in the hands of a three year old and he could potentially get dyed glue all over his clothes.  I then took it upon myself to make him a smock to protect his clothes.

I started with an old t-shirt my mom had given me.  She had won it in a casino on a cruise.  Then I cut off the side seem and sleeves on each side.

Save this because you'll need part of it later
This is actually the back side of the shirt


Once you cut the sleeves out, you can put a design on the front of your smock if you'd like.  I chose "Chicks Dig Me cuz I'm Crafty" with a chick on it because I can draw a decent chick and it was for my nephew.


Next, cut two 1/2 inch sized slits about a quarter from the top and half way from the top on each side of the shirt on the front and back of the shirt.  The slits should be about 1/2 inch from the edge of the smock.  These will be the holes that you tie the straps to.

I actually held the front and back together and cut them at the same time.

Take the sleeve pieces and side seems that you cut off of the original t shirt and cut the sleeve section off.  Fold the remaining section in half vertically and cut it into 4 strips long-wise.  Do this for both side seem/ sleeve sections so that you have 8 strips of fabric.


Once you have your 8 strips, pull on them so that they curl up and make a thinner strings like so

Feed the string through one of the holes you cut on the side of your smock and knot it.  Do this for each one of the holes on the side of your smock. Be sure to at least double knot it so it stays.


Now all you have to do is slip the neck opening over the child's head and tie the strings on either side in bows so that it stays on.


This was a size medium and it went down to my three year old nephew's ankles.  This didn't cover his sleeves and even though he was wearing a short sleeved t-shirt, he managed to get glue on them and we had to wipe them down right away to avoid staining.  Nevertheless, it did keep his front  clear of glue so I'd say it was a success.

Wednesday, April 15, 2015

Homemade Candy Buttons

You know candy buttons?  Those little dots of sugar on strips of white paper?  They're pretty hard to find nowadays and sometimes the ones in the candy shops are fruit flavored which I personally find disgusting.

My family makes cut out cookies every year and I found that the icing we make for the cookies has a similar tastes and the icing also hardens and dissolves in your mouth in a similar way.  It was then that I decided to try and make candy buttons using this icing recipe and it worked out pretty darn well.

Ingredients

  • 2 Cups Confectioners Powdered Sugar
  • 1 Egg White (or powdered egg whites equal to 1 egg white if you're scared of salmonella)
  • 1 tbsp Water
  • 1/2 tsp Almond Extract
  • Food Coloring


Add the confectioners sugar, egg white, water and almond extract in a medium sized bowl and mix together using a hand mixer or a stand mixer.  Continue to mix until the mixture starts to peak.  If doesn't have to be so stiff that it sticks straight up -- the mixer just has to make thick ripples.  If it isn't peaking, then add a little more confectioners sugar.


Once you've got it mixed, there are two different approaches you can take depending on how many colors you want to make.  One approach is to get as many plastic baggies as colors you want to make.  Evenly distribute the mixture into each plastic bag and then place drops of food coloring into each bag,  Seal the bag and then squish the bag around so that the food coloring is evenly dispersed.  The second option is to just use one bag and then periodically add a different complimenting color to make a new color.  I chose the second version because it was easier for me to do.

Before you go any further, place wax paper on two large cookie sheets.  This is where you will put your buttons and the cookie sheets make it easier to move the buttons around while they're hardening.

Once you've got the food coloring mixed in, snip off a tiny piece of the corner like on a pastry bag.

The corner I snipped was a little too big -- make it as small as possible.

Now it's time to place your dots on the wax paper.  You want the dots to be the size of a pea.


If you chose the second option of mixing the food coloring like I did, you'll want to push the mixture away from the hole in the bag and then open the bag and add another color of food coloring.  I started with green and then added blue and then added yellow so I had 3 different shades of green.  Sometimes I'll start with white then add blue and then add yellow so that I have white, blue and green buttons.

Sorry for the blurriness of the picture
This will be what it looks like when you are done placing the buttons:


You have to wait 36 hours before these fill fully harden -- that's the only downside to these delicious things.

Wednesday, April 8, 2015

Meatball Burgers (A Max & Erma's Copycat)

Everyone loves a good cheeseburger (except vegetarians).  My fiance could eat them twice a week if I made them, but eventually eating the same thing week after week can get boring.  With grilling season beginning, here's a spin on your traditional cheeseburger.

I was in Max & Erma's a little while ago where I had an awesome Meatball Burger.  I, of course, said to myself "this seems easy enough -- I could make it at home," and now I will pass my knowledge on to you.
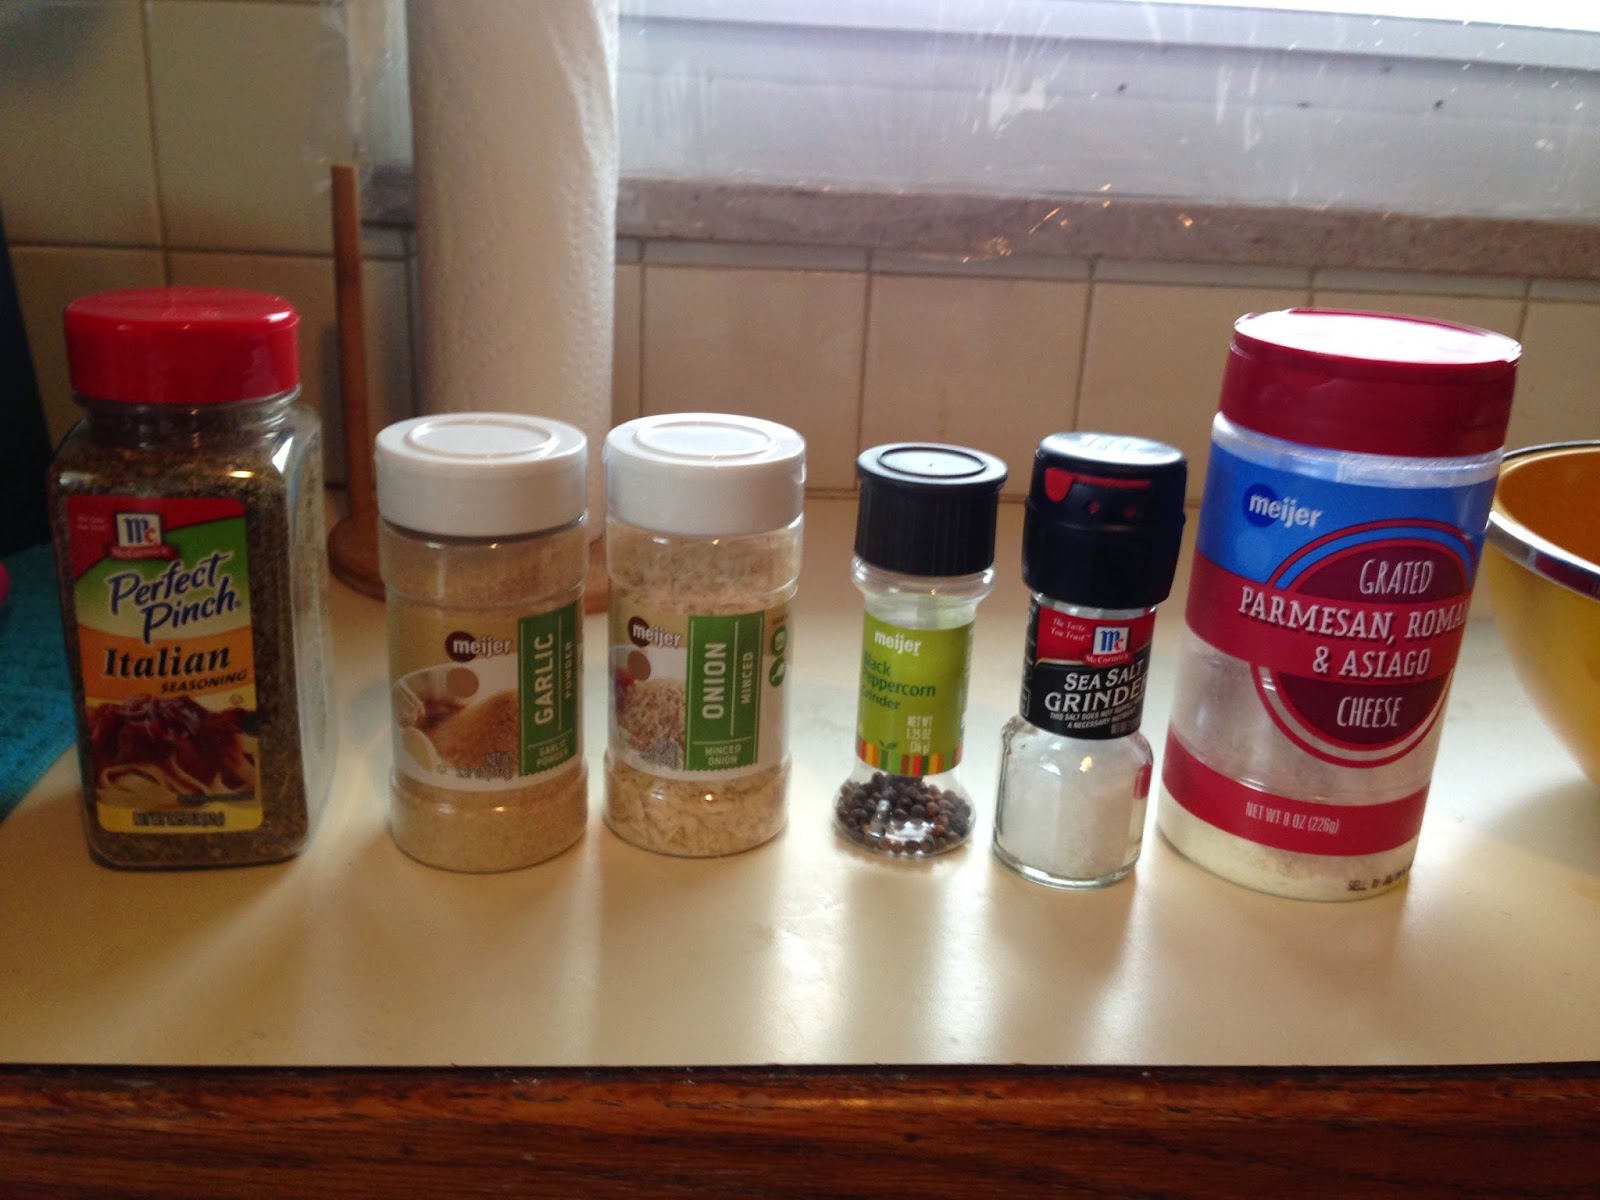
Ingredients:
  • 1 lb of Ground Beef (or Turkey or Venison)
  • 3 tbsp Grated Parmesan Cheese
  • 2 tbsp Onion Flakes
  • 1 tbsp Garlic Powder
  • 1/2 tbsp Italian Seasoning
  • 1/2 tsp Sea Salt
  • 1/2 tsp Pepper
  • 1 Large Egg (optional if you're using a lean meat)
  • 2 Hamburger Buns (Pretzel Buns if you have them)
  • 2 tbsp Pizza Sauce (divided)
  • 2 slices of Provolone Cheese

First, fire up your grill so it has time to heat up. Whether it's charcoal, gas or a George Foreman -- anything will work.  Also, I made green beans as the side dish for this meal.  I've been trying to replace potatoes with vegetables so I figure green beans are a similar shape to french fries so that's what I made.  After I heat up the grill, I put about 4 quarts of water in a pot on the stove to boil for the green beans.

Next, place the thawed ground burger in a bowl.  (My burger wasn't completely thawed when I got home from work so I thawed it in warm water before hand which is why it isn't completely pink.  Technically you're supposed to thaw it in cold water.)  Once your burger is in the
bowl, add the Parmesan, onion flakes, garlic powder, Italian seasoning, sea salt, pepper and egg if you need it.


Mix the ingredients together with your hands and then pack the mixture into two patties.  You can obviously make them into smaller patties if you wish.  It's just the two of us so I just make two burgers.

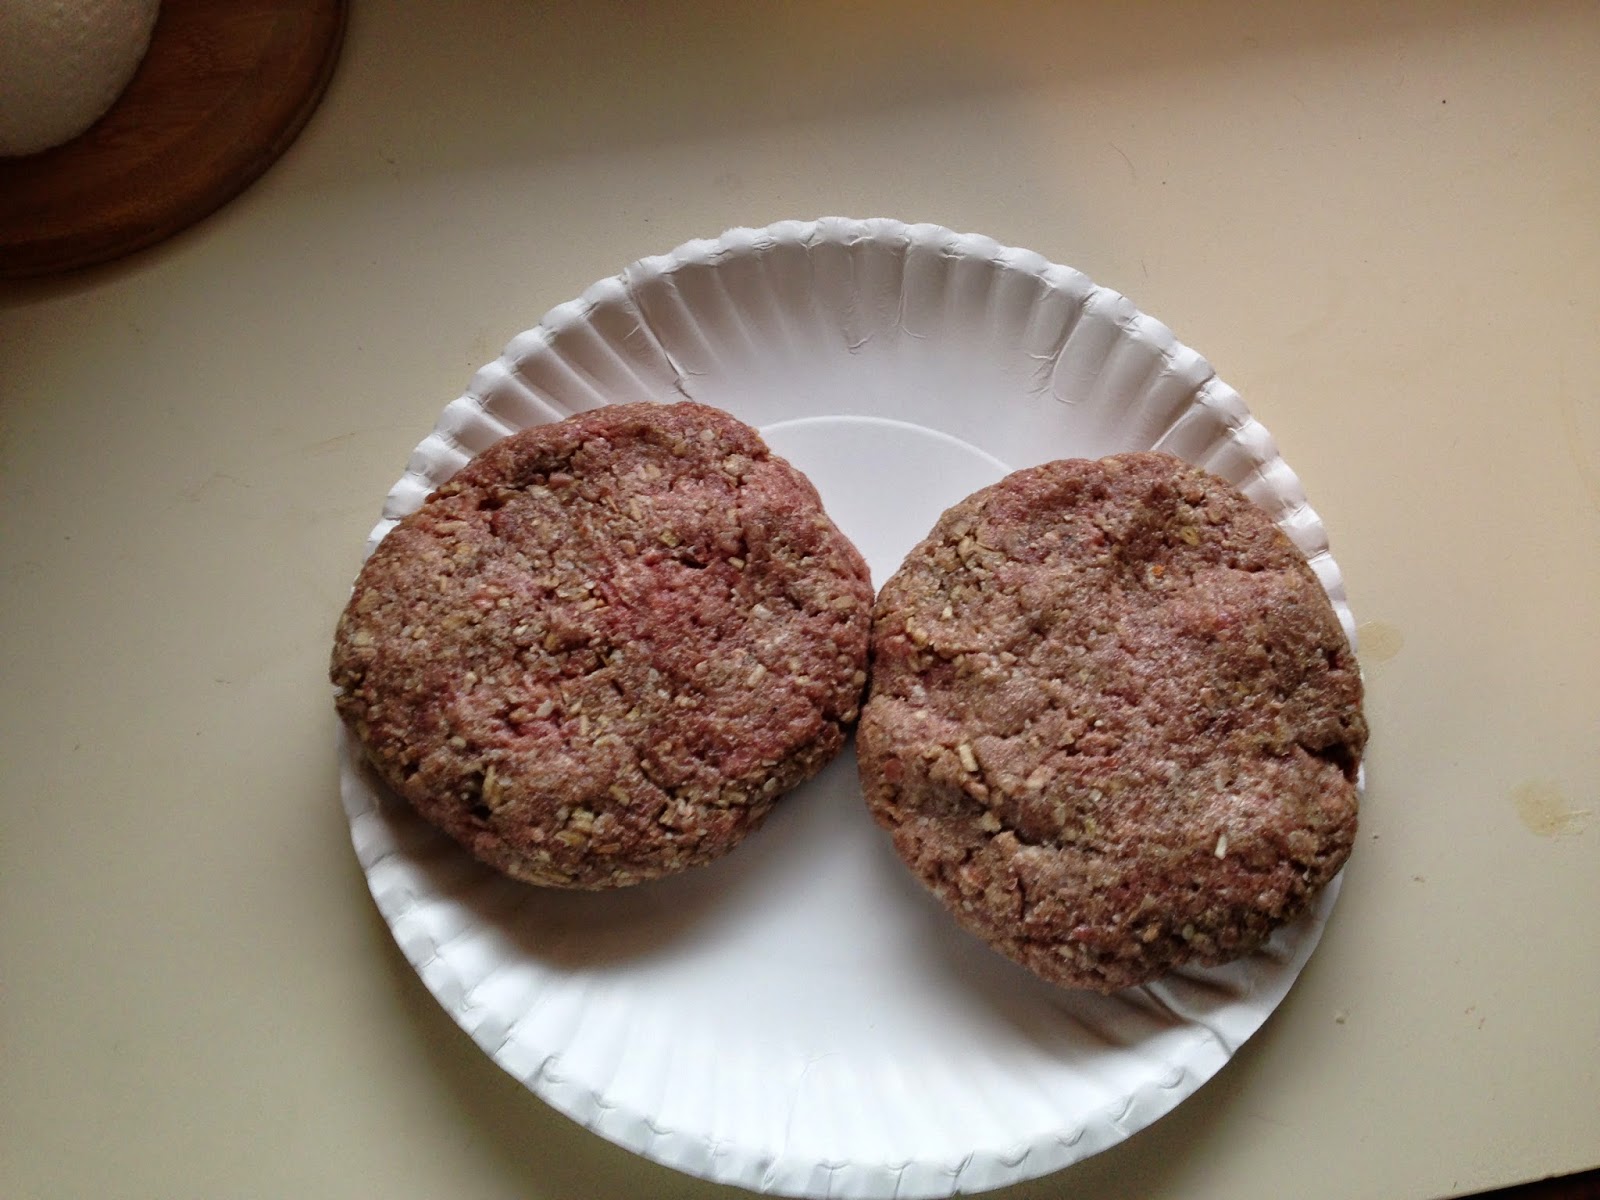
Disclaimer: these look gray because of the fat content as well as the color of most of the ingredients.
Once your grill is warmed up, place the patties on it.  You'll want to cook them until their internal temperature is 160 degrees.
This grill may look weird to you because we converted a gas grill into a charcoal grill.

While the burgers are grilling, cut the ends off of the green beans.  When the pot of water comes to a rolling boil, place them in the boiling water.  You'll want to boil them for at least 4 minutes.


Once the burgers are almost done, Place a 1 tbsp dallop of pizza sauce on each patty and then add a slice of provolone on top.  It's at this point that I toast the buns as well.  I didn't have pretzel buns so I just used regular hamburger buns.  In order to just add a little something to them, I buttered the bottoms of them.


Once the green beans are done boiling, drain the water from the pot or strain them out using a slotted spoon.  Place them in a 10" skillet with about 2 tbsp of butter and saute over medium heat for 4 minutes.  Then season with a pinch of sea salt and they're ready.


Once the cheese has melted and the buns have browned, remove the burgers and buns from the grill.


And here is the finished product:


ENJOY!


Wednesday, April 1, 2015

Spring Fashion: A Line Skirt & Tee

Spring is finally here.  The weather is finally breaking and it's almost time for skirts and sandals.  One of my favorite fashion trends that I've seen this spring is A line skirts with tee shirts.  The great thing is that this style is perfect for pear shaped women especially ones like me who could afford to lose a couple extra pounds.  It's also a great style that you can dress up or dress down depending on where you're going.

I'm not exactly made of money so here are some cute reasonably priced skirts that I've found.

Mod Cloth: Turning in Tulle Skirt in Black $49.99


http://www.modcloth.com/shop/skirts/turning-in-tulle-skirt-in-black

This is a really cute skirt and tee combo.  It's perfect with ballet flats for a date night.  I'm pretty tall so I prefer not to wear heels so this look is perfect for me.  It also is knee length which is nice because if you have to bend over, your butt won't hang out of the bottom of her skirt.

H&M: Knee Length Skirt $34.95

http://www.hm.com/us/product/89979?article=89979-C#article=89979-C

Pockets are always a nice thing to have in a skirt and when it gets hot out, a tank top will be comfortable.  I'm not a fan of the shoes they chose with this outfit.  I'd probably opt for another pair of ballet flats.

Amazon.com: Mikarose Knee-Length Short Sleeve Dress $64.99

http://www.amazon.com/Mikarose-Womens-Knee-length-Short-Sleeve/dp/B00DTXHRQA/ref=pd_sim_a_8?ie=UTF8&refRID=0JQC7409CMYEB7XKWPQ9

Despite the fact that this is a dress it's very cute for a brunch or wedding/baby shower.  It looks great dressed up with some wedges, but it's still a nice comfortable, casual look.

Old Navy: Pleated Skirt $22.00

http://oldnavy.gap.com/browse/product.do?cid=1011459&vid=1&pid=173892002

This is a more casual way to wear the A Line skirt and Tee with a pair of canvas shoes and a cute little jacket.  I also like when the pleated A Line and Tee are paired with a motor cycle jacket and mary janes for an edgier look.

These are just a few ways to wear this kind of skirt, but I think it works for every body shape and particularly compliments a pear shaped body.