Wednesday, July 1, 2015

Bridal Shower Part 1: Food and Drink

My Bridal Shower was a couple of weeks ago and I've been so busy, I haven't had time to blog about it.  I don't want to say that I'm anal, but I know what I want and I'd rather do things myself so I know that things are done right.  So I basically planned my entire shower.  It should also be said that two out of four of my bridesmaids live out of state and wouldn't be able to make it to the shower or help out.  Also, I had originally told everyone my shower would be June 7th, but then for whatever reason, decided to change it to June 14th.  June 14th happened to be during my 3rd bridesmaid's step-daughter's class trip to Chicago so she wasn't going to be there either.  I felt bad, but I did it to myself-- that's the price you pay when you want to do it all on your own.

We had the shower at my parents' house.  They live in a nice area with a 4 car garage and they also have two large canopies that they put up for parties.  The Weather Channel was of no help the weeks before the shower.  One day it would say 72 and party cloudy, the next day 82 and rainy -- sometimes the weather forecast would change in the same day.It was very frustrating and the final forecast was in the 80s with thunder showers.  The day was extremely muggy and the sun peaked out about an hour before the shower and made it extremely hot and sweaty out.  Just before the shower, it began to pour which made it a little better.  We ended up hanging large s-hooks on the poles of the canopy so that people could hang their umbrellas to dry once they came.

Anyway, on to the food and drink portion as promised.  We expected about 35-40 people to attend the shower.  So we ordered a variety of sandwiches from the grocery store: one ham and cheese slider platter and two pita pocket platters (for people who don't like ham/pork).  In retrospect, we should have ordered two of the ham slider platters and one of the pita pocket platters.  The ham was a hit.

Kroger.com
For sides, we had potato chips, pita chips with hummus, a Caesar salad and a pickle tray.


Kroger.com

For dessert we, of course, had a cake as well as a brownie platter.  Originally I wanted to order a half sheet Costco cake, but I wanted a marble cake with buttercream frosting, but Costco doesn't do either of those things so we just had to order it from another grocery store.  It was delicious though.  I found the silhouettes on the cake by googling free clip art and then the people at the bakery improvised the air brushing.  I thought it came out pretty cool. 


 We also had a brownie platter just in case there were people who didn't want cake.
Kroger.com

As for the beverages, we had my fiance's family's punch that they make for all special occasions.  It's very simple to make: mix a can of frozen orange juice, a can of frozen lemonade, two and a half bottles of seven up and a fifth of Southern Comfort together.  Then add a jar of maraschino cherries.  It's delicious.  

We also had Raspberry Vodka Limeade Slush.  Here's a recipe http://www.thekitchn.com/quick-cocktail-raspberry-limea-59664  -- we left the vodka on the side so that any little ones could try it too,

The last alcoholic beverage we served was moscato sangria.  I just bought it in a bottle and added sliced lemons, limes and oranges.  Surprisingly enough it was not as big of a hit as I thought it would be.

With all of the alcohol being served, we, of course, served bottled water.  I'd seen an idea online where you wrap the bottles in duct tape to give them a personal touch.  We chose mustache duct tape and pink zebra stripe.  Originally I was cutting the labels off of the water bottles and wrapping them in duct tape but then I felt it was just tedious and time consuming.  Duct tape isn't transparent anyway and it was thick enough to cover the water bottle labels so I just stopped cutting the labels off.


And that's about all we, well I, did for food and drink for the shower.  You do, of course, need ice to keep everything cool.

Next week will be all about favors and decorations. :-)

Wednesday, June 24, 2015

RECIPE: Easy Baked Potato Dip

Recently I was lucky enough to be invited to watch a hockey game in a suite.  It was awesome: free food, free drinks, private bathroom and even a desert cart.  They had a dip there that was essentially a baked potato in dip form.  I've heard of similar dip called "crack dip" but mine is slightly different.

A. Who needs potatoes in it?  They're more work because you have to boil them and cut them up, they don't have very much flavor AND you're putting it on a cracker so why would you need another starch to the dip?
B.  Although Ranch Dip Mix and Sour Cream are not the same as Ranch Dressing, I have a major aversion to Ranch Dressing and I don't want to be involved with Ranch in any way.

So here is my super easy Baked Potato Dip Recipe.

Ingredients:
  • 12oz Whipped Philadelphia Cream Cheese
  • 3 1/2oz Bacon Pieces
  • 3/4 cup Shredded Cheddar Cheese
  • 1/4 cup Diced Green Onion
  • 1/2tsp Garlic Powder

Mix all of these ingredients in a medium sized Tupperware container until everything is evenly distributed throughout the cream cheese.


After that, all you have to do is spread the dip on a club cracker and enjoy! :)

Wednesday, June 17, 2015

Cleaning Tennis Shoes

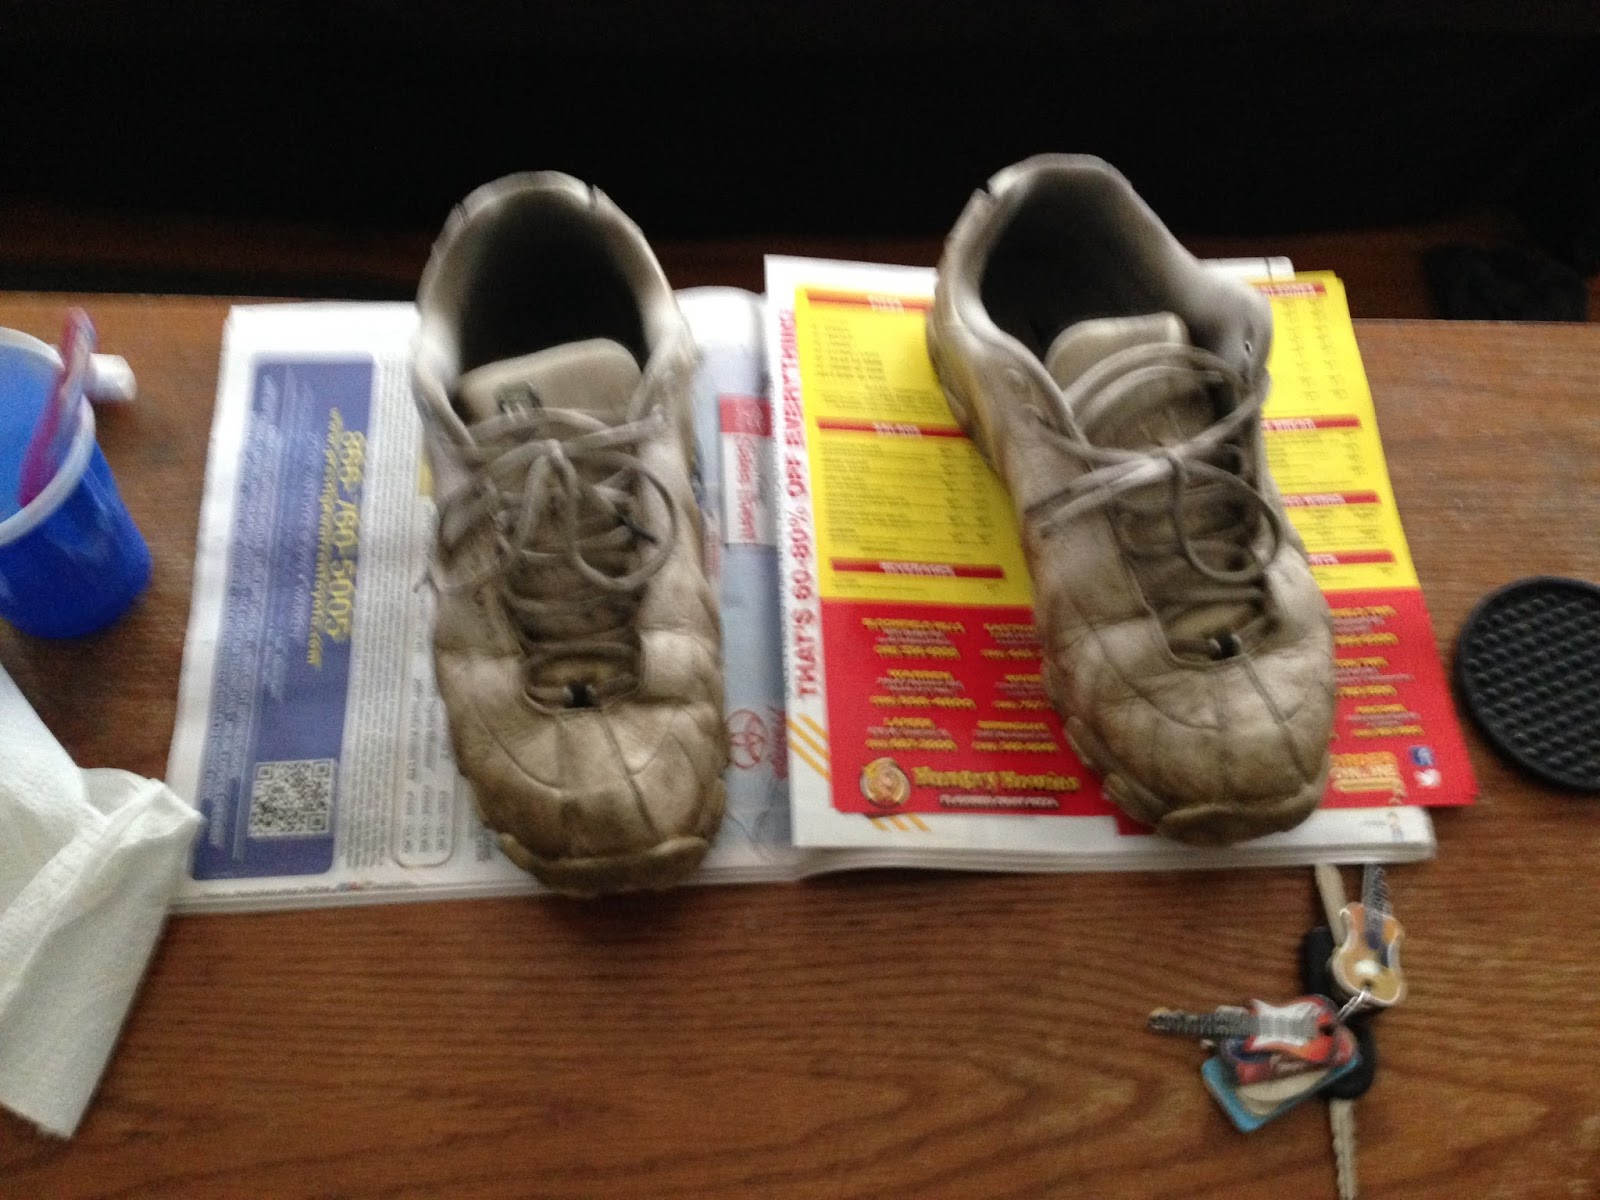
Yes! Another post about cleaning.  So I'm one of those weirdos who is planning on wearing Converse Chuck Taylors to her wedding.  I've had the Chucks I'm going to wear for a while now so, of course, they've gotten a little scuffed over the years.  Also, my fiance likes to have a pair of nice while K-Swiss type tennis shoes, but he started wearing them to cut the grass and they have now been put through the ringer.  They were disgusting and they had to be cleaned.

At first, I was going to get an old toothbrush wet and dip it in baking soda and use the mixture to scrub the shoes.  THEN I realized that toothpaste is primarily baking soda and I had a bunch of little trial sized toothpastes from the dentist's office.  I got a plastic cup and filled it half way with water, I put some newspaper on the coffee table and I got to work.

Dirty shoes

Supplies
At first I put the toothpaste on the toothbrush and scrubbed it, but then I just started putting the toothpaste directly on the shoe and scrubbing.  It helps if you wet the toothbrush a couple of times without reapplying the toothpaste -- that way you get a lot of bubbles.The bottom edges of the shoes were really bad so I put toothpaste all over them and let it sit for a while.  You'll also need a wet wipe or some wet paper towel to clean off the excess toothpaste and you'll need to wash the dirt off of your toothbrush when you're done.

The shoes were cleaner, but they will never look new again.  I'm still pretty happy with the results.

Clean shoe on the left, dirty shoe on the right


Dirty on the top, clean on the bottom

As an added bonus, your shoes will smell minty fresh. :-)

Wednesday, June 10, 2015

Cleaning Your Hairbrush and Keeping It Clean

So lately I've been playing around with hair chalk.  The problem with hair chalk is when you brush it out of your hair, your hairbrush is filled with chalk residue.  Also, even when you comb hair out of your brush, there are still some left over and after a while, you need to clean your brush or buy a new one.

This is how I clean my brush:

You'll need a deep Tupperware container, dish soap and an old tooth brush.  I used about 2 tablespoons of dish soap and then filled the Tupperware dish with hot water.  I placed my brushes into the water.  I have 3 brushes: one for clean hair, one for brushing my hair when it has dry shampoo in it and brush that I keep with my duffel-bag for when I travel.  I went out of town over Memorial Day weekend with blue hair chalk in my hair-- it definitely needed to be cleaned.

Soak the brushes for about 10 minutes.


Once they've soaked for a little while, lay out some paper towel on the table and use the toothbrush to scrub between all the little tines.  You've going to pull out wet hair and it's going to be kind of gross, but it's to be expected.  

Once you're done scrubbing, run the brushes under some warm water.  Then dump the water out of the Tupperware container and rinse it out.  Then fill it with clean, warm water and let the brush soak again.  There are little holes in your brush and you don't want to have soapy water trapped in it and half a brush filled with mildew.

I soaked the toothbrush too
Again, soak the brush for about 10 minutes and then rinse it again.  Afterwards, lay out a towel and let your brush air dry face down.


Once they're dry, we move on to keeping your brush clean for the future.  I saw a life hack on Pinterest that said to cut a swatch of fabric the size of your brush and place it over the tines then every time you need to clean your bush, you just lift up the fabric and it pulls up all of the hair and lint in the brush.  This is a good idea in theory but what kind of fabric fits over these brushes?

A brush after it has been cleaned
First I tried some ribbed tank tops that were old and had gotten some tiny holes in them.  Didn't work.


Then I tried socks.  The ankle part of a sock actually does fit over the brush decently, but there's so much elastic in them that all of the little tines clump together and it's not going to brush properly.  I had some socks that had never been worn that I tried but they did not work.

My fiance's mom bought him socks for Christmas but they were for kids and  they barely fit me
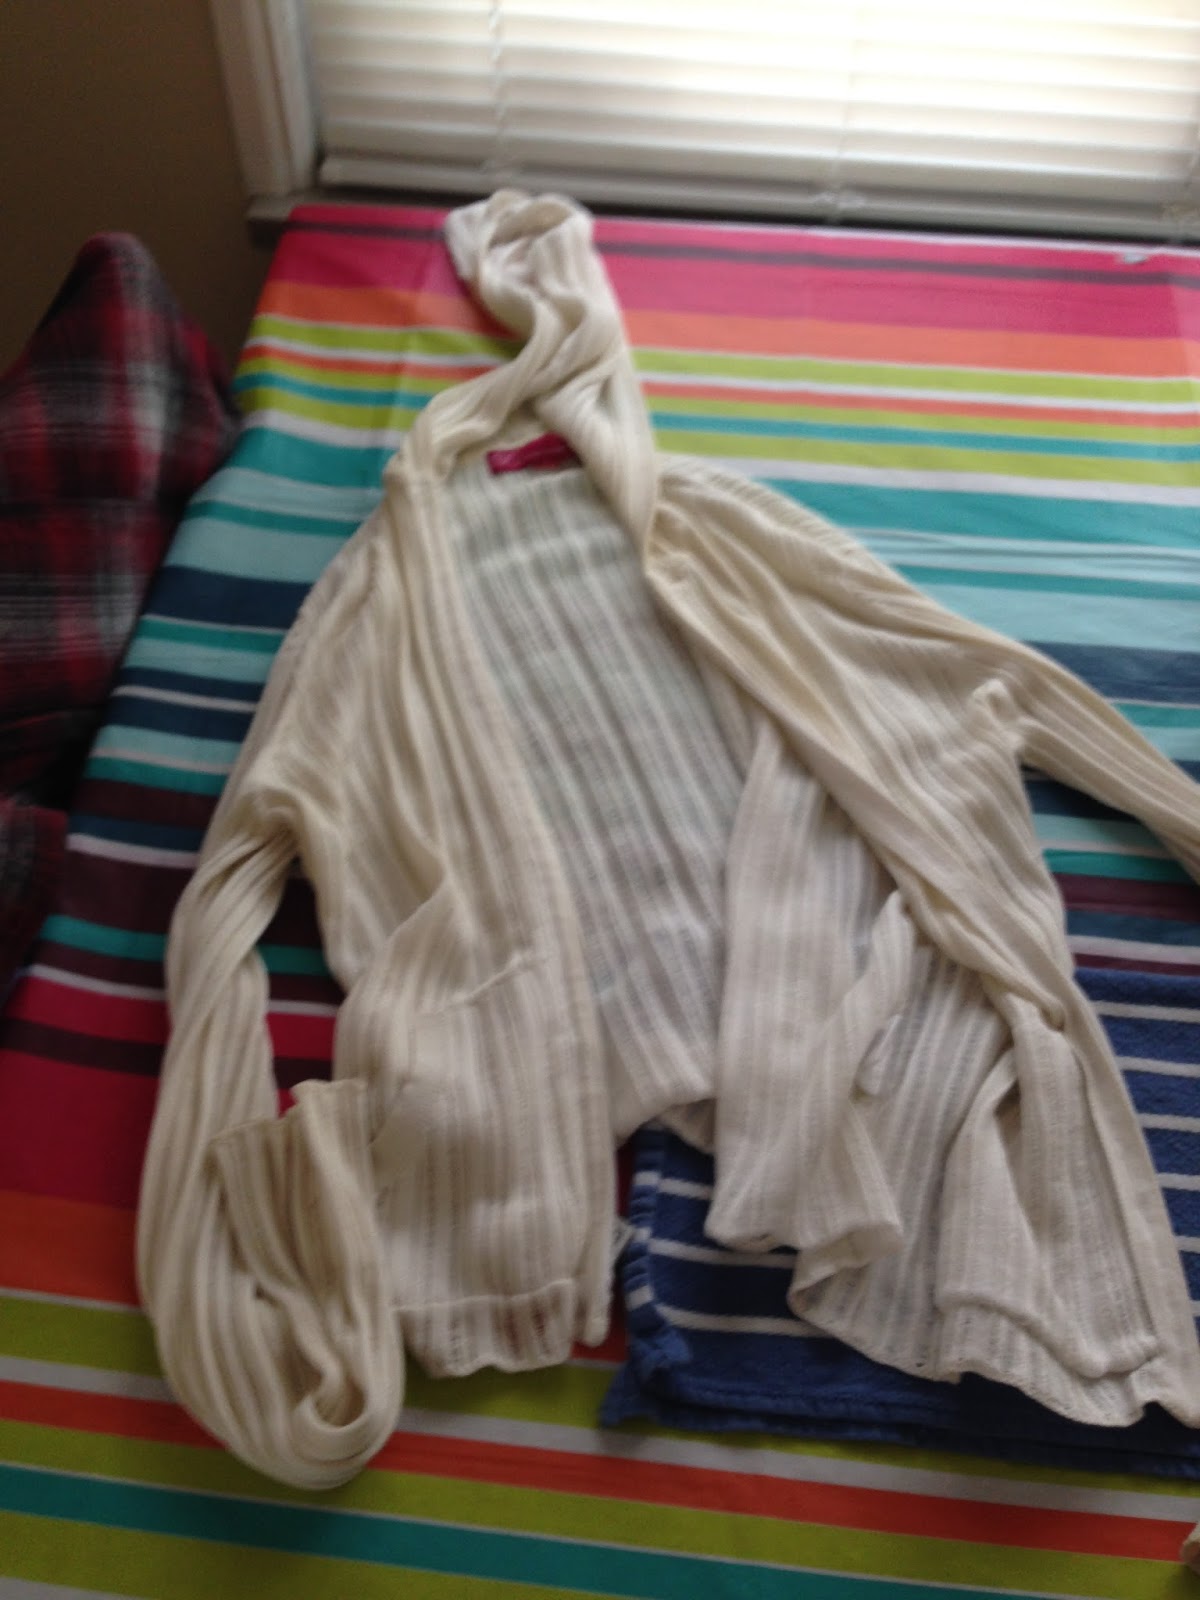
Finally I found an old knit hoodie that was meant to have holes in it.  It was originally while but about 10 years old and yellowing.


I cut off the hood and started covering my brushes.  It sounds weird but I used the toothbrush to smash down the fabric over the tines and it worked really well.

The finished product.  Tada!
I also think that fabric from a sweater that's loosely knit would also work.  Next time I have to clean my brush, it'll be much much easier to clean.

Wednesday, June 3, 2015

DIY Frosted Windows

So we have a large bay window that spans the entire living room.  The center picture window has blinds but the windows on either side are very narrow and don't have blinds or any other window treatments.This means that anyone who walks by can see into our living room.  Although we don't have really nice, expensive things, I don't want people to know what we do and don't have.  I also just don't like the thought of people being about to walk down the street and look into my house.


 I went on the Home Depot website and looked up adhesive window covers.  I found some frosted window covers and then I realized "Hey, I have some transparent contact paper from the dollar store left over from a craft project.

Dollar Tree Contact Paper


I tested a piece of it on a window and I couldn't see through it and the light was still shining through.  I then proceeded to cut contact paper the size of the window and apply it to the glass.  I put it on similar to the way that you put a screen protector on a phone.  I peeled the backing off of the top edge and placed it on the top edge of the window then I used my hand to run the contact paper on smoothly.  I tried using a piece of cardboard instead of my hand, but it just didn't work as well.

This is the final result:

Can't see anything from the outside
Lets sun in from the outside

One added bonus to this is that my dogs can't see outside so they can't bark at other dogs as they're walking by or the neighbor's kids drawing with sidewalk chalk in the driveway.

It was super quick and easy and it's been a lot nicer not having to worry about people looking in through my windows when I'm not home.  Maybe I'm paranoid, but I feel better now.

Wednesday, May 27, 2015

My Skincare Routine

All of the women in my family have a vertical line to the right of their left eyebrow.  It's the line that shows up every time someone says something or does something stupid.  It comes from the look we give people when we're thinking, "you're so dumb.  Why are you so dumb?  I didn't realize they made people as stupid as you."  At the age of 23, I looked into the mirror and realized that the line was still there even though I wasn't making that face.  At this point I had worked in retail for 7 years and the line was already visible.  I couldn't imagine how much deeper this line would get.  I couldn't stop looking at people like they were idiots so I had to up my skincare game.

I was already using a face scrub and a moisturizer with SPF 15 because I had dry flaky skin.  I was very broke at the time so I used whatever anti-aging product I could find.  I also used a cheap eye cream because for some reason my eyelids were dry and flaky too. *weird*  In addition I have dark circles under my eyes so eye creams were a must.

Just over a year ago I realized that all of the cheap, on sale, store brand were keeping my skin moisturized and keeping new wrinkles at bay, but they weren't doing everything I wanted them too.  I do have a bit of rosacea on one of my cheeks and what I was using wasn't helping at all.  It was then that I decided that I have the means and the need to get a decent quality skin care products for myself.  It's best to use one brand or one line of products so that they don't counteract each other so I set out looking for the perfect brand for me.

What I was looking for
  • In a face wash:
    • Exfoliate
    • Prevent Acne
    • Prevent Fine Lines and Wrinkles
  • In a day moisturizer:
    • SPF 20 or higher
    • Prevent Fine Lines and Wrinkles
    • Even Skin Tone
  • In an eye cream:
    • Prevent Fine Lines and Wrinkles
    • Get Rid of Dark Circles
    • Evens Skin Tone
    • Moisturize
  • In a makeup remover:
    • Exfoliates
    • Evens Skin Tone
  • In a night cream:
    • Prevent Fine Lines and Wrinkles
I compared four brands by price and my needs: L'Oreal Youth Code, Ulta, Olay and Neutrogena.  What I found was that although Neutrogena had everything I wanted and was the cheapest, Olay was only slightly more expensive but had everything I wanted and more.

This is my routine.  During my morning shower, I use Olay Total Effects Refreshing Citrus Fave Scrub

Benefits:
  • Thoroughly cleansing skin
  • Cleansing without over-drying
  • Refining to minimize the appearance of pores
  • Brightening the appearance of skin
  • Gently exfoliating
  • Smoothing skin’s texture
  • Minimizing the appearance of fine lines and wrinkles

When I get out of my shower and dry my face, I put on Olay Total Effects Anti-Aging Eye Treatment

Benefits:
  •  Fine lines and crows feet: reduces the appearance of wrinkles
  •  Reduces appearance of dark circles
  •  Dullness: brightens the eye area
  •  Massage to reduce the look of puffiness
  •  Uneven Tone: balances and helps even skin tone
  •  Smooths and evens skin texture
  •  Dryness: provides nourishing moisturization

Then I put on my day cream: Olay Total Effects Anti-Aging Daily Moisturizer.

Benefits:
  •  Visibly smoothes fine lines and wrinkles
  •  Evens skin tone appearance
  •  Enhances brightness
  •  Minimizes the look of pores
  •  Visibly reduces age spots
  •  Restores firmness
  •  Replenishes moisture
At the end of the day, I use Olay Regenerist Micro-Exfoliating Wet Cleansing Cloths

Benefits:
  • Gently detoxify by removing dirt, Oil and make-up—even Waterproof mascara
  • Exfoliate and diminish dullness and uneven tone
Then I apply my overnight cream: Olay Age Defying Classic Night Cream

Benefits:
  • Replenish Skin's hydration
  • Renew skin’s surface to minimize the appearance of lines and wrinkles.
  • Non-Comedogenic (Won’t Clog Pores)
I'm proud to say that since I've started this routine the deep wrinkle by my eyebrow is almost non-existent.  I even try to make the "What, are you an idiot?" face in the mirror and the wrinkle is barely there.  My dark circles are lighter and my skin tone is much more even than it previously was.

I'm getting married in a few months so I looked up pre-wedding skin care routines and I decided to start adding a weekly facial into my routine.  Once a week I use this facial with all natural ingredients: http://beautybanter.com/diy-coffee-face-mask

I prefer a more paste like mask so next time I make it, I would use equal parts coffee, cocoa powder and milk.  Also, this recipe makes A LOT of face mask and it's only good for 3 days so unless you're having some kind of girls' night in party where you all get facials, I'd divide it into the smallest possible batch.  I used FairLife whole milk when I did this and it doesn't expire for a couple of months so I figured it would last longer.  What I did was put the remainder of the face mask in a  Tupperware container and freeze it.  The cold does break down the enzymes of the lemon, but it's better than wasting all of that face mask for a one time use.

Since I started doing this face mask every week, I've only gotten one pimple and it went away very quickly.

Well, that's my skin care routine and it probably doesn't work for everyone's skin type but if you have needs similar to mine, it will probably work for you.

PS -- although the face mask is edible, it doesn't taste good -- avoid your mouth.  :)

Wednesday, May 20, 2015

Recipe: Bacon Spinach Alfredo Pizza

This is a combination that I came up with a couple of weeks ago.  It's not always easy to come home from working 8 hour days and then cook dinner with your family.  And then, of course, you have to make sure to take out the meat for dinner one to two nights before otherwise you're in trouble.  This recipe doesn't require any thawing and is really quick and easy for those weeknights where you don't feel like making a complicated meal.

I always make two of these because we finish the first one that night and take the second one as leftovers for our lunches the next day.  I'm going to do this recipe for one pizza but feel free to double it for delicious leftovers.

Ingredients:
  • 1-2.5oz packages of real bacon pieces (from the aisle with the salad dressings)
  • 1 pizza crust
  • 1-15oz jar of Alfredo sauce (I used Bertolli Garlic Alfredo, but it's your preference)
  • 2-8oz bags of shredded mozzarella cheese
  • 1/2 cup of spinach
  • 1/2tbsp of garlic powder
  • 1/2tbsp of Italian seasoning
Preheat the instructions according to the directions on the pizza crust package.  Mine said to preheat the oven to 450 degrees and then turn it down to 425 degrees once you're ready to put the pizza in.  The directions for the pizza crust also said to drizzle olive oil on the crust so I did that as well.

Put your pizza crust on a crisper or a cookie sheet.  Place two large spoonfuls of Alfredo sauce on the crust and spread a thin layer all over the crust-- less is more in this case.  Don't put too much sauce or the pizza will fall apart. Sprinkle the garlic powder and Italian seasoning on top of the Alfredo sauce.  Rinse your spinach and dry it off on a paper towel then shred the spinach with your hands and sprinkle it on the pizza. Sprinkle the 8 ounces of mozzarella all over the pizza and then add the package of bacon.

Assembled before you put it in the oven.

Put the pizza in the oven for the amount of time directed in the instructions on the package.  I always cook it for the longer amount of time.  Sprinkle some parmasean on it when it comes out and you've got a quick and easy pizza.  :)

ENJOY!